A Modern Django Admin Using Wagtail
Introduction
(If you want to skip right to the code, a repo with the changes in the blog post is available here. The majority of the changes are in home/wagtail_hooks.py.)
Wagtail is Django-based CMS that powers an impressive roster of websites, including sites for Google, NASA, MIT, and Mozilla. As a build-your-own-CMS framework, Wagtail provides helpful building blocks for constructing a custom content management interface. While Wagtail's feature set skews toward managing webpage-based content, with a few tweaks it functions nicely as a client-friendly alternative to Django's built-in admin interface.
In this post we'll tweak Wagtail to better match a make-believe company called "PicBlue", whose logo is a sphere that resembles a blue-checked picnic blanket. (Don't worry: the information in this post is better than that branding.)
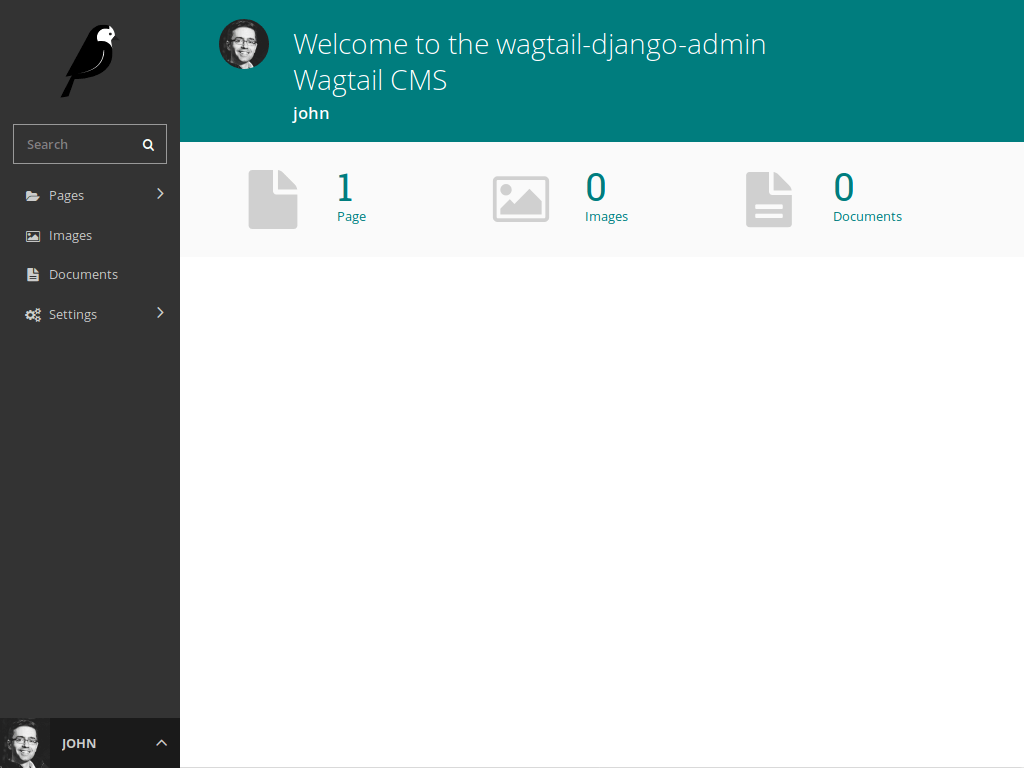
Here's the before shot:

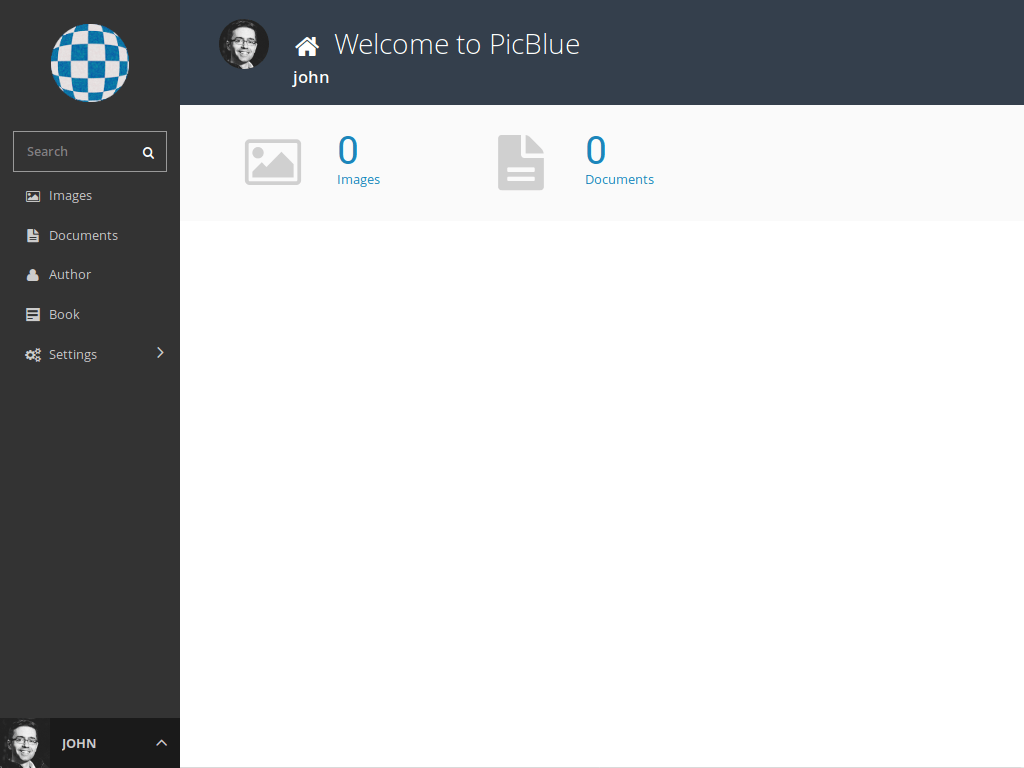
And the after:

Here's a quick run-down of what needs to be tweaked to get the "after" shot:
- Customize branding
- Remove Page references from the dashboard
- Register Django models
Let's get to it.
1) Customize Branding
Customize Colours
Unless your brand uses a colour approximating teal or light sea green, you may want to update Wagtail's colour scheme so admin users feel more at home. We can use Wagtail's insert_global_admin_css hook for this:
# home/wagtail_hooks.py
from django.utils.safestring import mark_safe
from wagtail.core import hooks

@hooks.register('insert_global_admin_css')
def customize_admin_colours():
    return mark_safe("""
<style>
:root {
  --main-bg-color: #343F4C;
  --primary-color: #1C86BA;
  --secondary-color: #36A3D9;
}
header {
  background-color: var(--main-bg-color);
}
a {
  color: var(--primary-color);
}
a:hover {
  color: var(--secondary-color);
}
.button,
header .button {
  background-color: var(--primary-color);
  border-color: var(--main-bg-color);
}
.button:hover,
.replace-file-input:hover button {
  background-color: var(--primary-color) !important;
}
.button-secondary {
  color: var(--main-bg-color);
}
</style>
""")
The above code uses CSS variables, which are supported in recent versions of major (non-IE) browsers. If you're targeting IE users, just replace variable references (var(--primary-color)) with the colours themselves (#1C86BA).
Also, these colours may need to be applied to more Wagtail CSS rules to fully exorcise teal elements. Use the Wagtail styleguide to check that any Wagtail elements used in your admin are covered by your custom CSS since the CSS above just covers the basics.
Personalize Dashboard & Login
Wagtail's documentation for how to customize branding and extend the login form is thorough, so head over to those docs for help with that.
2) Remove Page References from Dashboard
Remove Explorer Menu Item
The "Pages" explorer menu item is featured prominently in the Wagtail menu, occupying the top spot. When using Wagtail as a drop-in admin replacement instead of a CMS, this menu item could be confusing. Let's get rid of it:
# home/wagtail_hooks.py
from wagtail.core import hooks

# https://docs.wagtail.io/en/latest/reference/hooks.html#construct-main-menu
@hooks.register('construct_main_menu')
def hide_page_explorer_menu_item(request, menu_items):
    menu_items[:] = [item for item in menu_items if item.name != 'explorer']
Remove Page Summary Item
Wagtail's landing page shows a summary of the Pages, Images, and Documents in the deployment. We might want to use Wagtail's Image and Document models, but let's get rid of the Pages summary item:
# home/wagtail_hooks.py
from wagtail.core import hooks

# https://docs.wagtail.io/en/latest/reference/hooks.html#construct-homepage-summary-items
@hooks.register('construct_homepage_summary_items')
def remove_pages_summary_item(request, summary_items):
    summary_items[:] = [i for i in summary_items if not isinstance(i, PagesSummaryItem)]
To remove the summary items entirely, change the last line above to summary_items[:] = [].
3) Register Models
To edit regular Django models in Wagtail, we'll use ModelAdmin.
Wagtail's ModelAdmin functions much like Django's. It provides a menu item, list view, and editing views for the models you register. Registering a Django model with Wagtail is similar to registering a model with Django's admin, too. (My tiny contribution to Wagtail is that I threw together an implementation of modeladmin_register and added it to an issue in wagtailmodeladmin before that repo was part of Wagtail—and before I was comfortable opening PRs.)
Let's register two models, Author and Book:
# home/wagtail_hooks.py
from wagtail.contrib.modeladmin.options import (
    ModelAdmin,
    modeladmin_register,
)
from home.models import Author, Book

class AuthorAdmin(ModelAdmin):
    model = Author
    menu_label = 'Author'
    menu_icon = 'user'


class BookAdmin(ModelAdmin):
    model = Book
    menu_label = 'Book'
    menu_icon = 'form'

modeladmin_register(AuthorAdmin)
modeladmin_register(BookAdmin)
Now, those models are registered with Wagtail and will appear in Wagtail's main menu. If your main menu doesn't update even after you've registered models with modeladmin_register, try making and running database migrations. I found that only models whose database migrations have been migrated appeared in the menu.
ModelAdmin has a number of customization options not specified above, including so dig through the docs to learn more about those.
Conclusion
That's all there is to it! With just a bit of customization and a few minor tweaks, Wagtail can morph into a modern admin interface for any Django project.